[
Return to Main Page ] [
Return to Projects Index
] [
Doc's Machine & TWB Store] [
Contact Us ]
[
The Whiteboard Webcomic
]
Saving a 1943 Springfield Engine Lathe, Part 5:
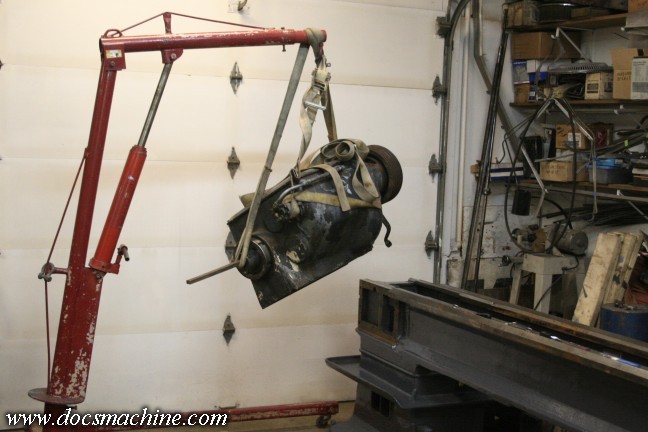
With the bases and bed assembled and reasonably level, I could then install the headstock.
It's a heavy piece, and put a heck of a strain on my engine lift- it wouldn't surprise me if it was
well over half a ton all by itself. I made sure the grooves on the underside of the head were clean,
and the ways on the bed were as well, then gave both a light coat of LPS-3 preservative,
to help ensure that rust and corrosion won't form inside the seam.
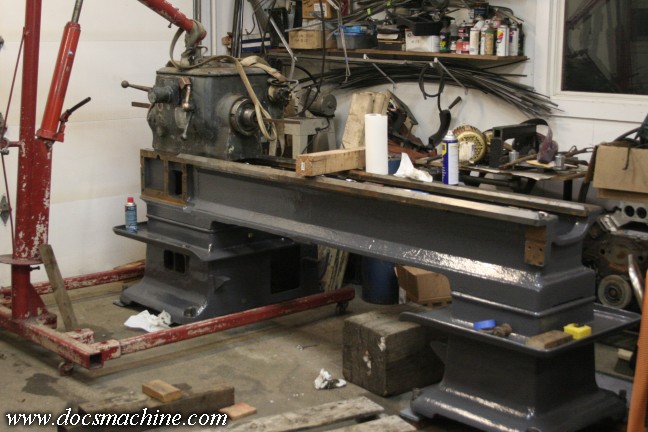
Down and safe, and ready to be bolted into place.
I'd wanted to clean and paint the head before dropping it into place, but the weather
and my busy schedule would have made that difficult. Note the missing 3-speed shifter;
I'd managed to cleverly break that again strapping it up for this lift.
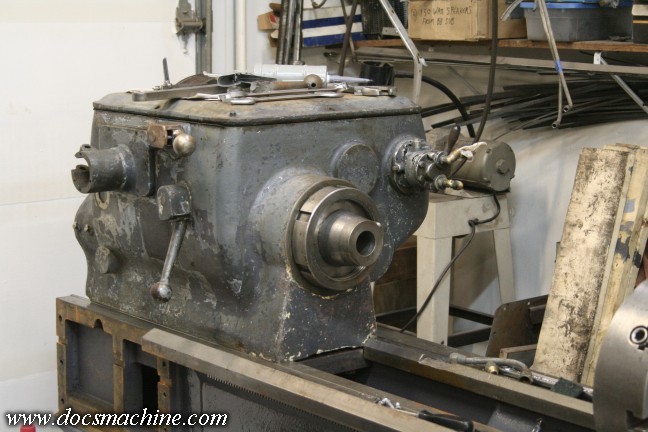
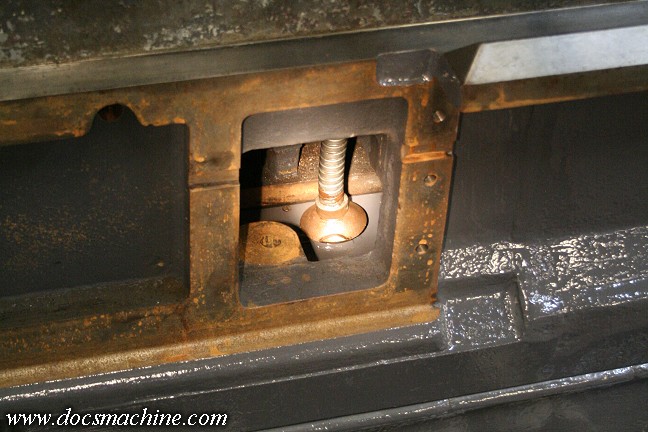
The head is held down by four huge bolts (well, and a great deal of gravity.)
The two at the end of the headstock go through the bed casting...
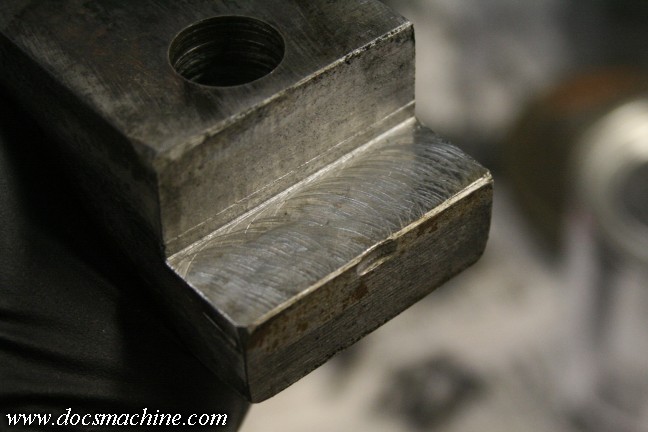
While the ones at the spindle end go through this clamping bar. Note how someone roughly touched off
with the milling cutter before making the proper cut. Even the guys that made this Monster seventy
years ago, were just men like the rest of us.
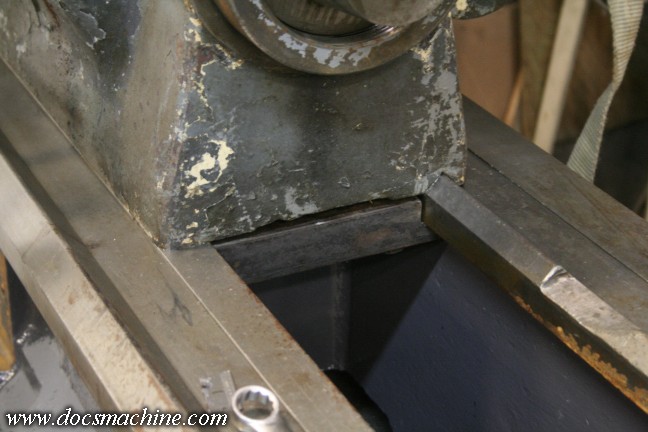
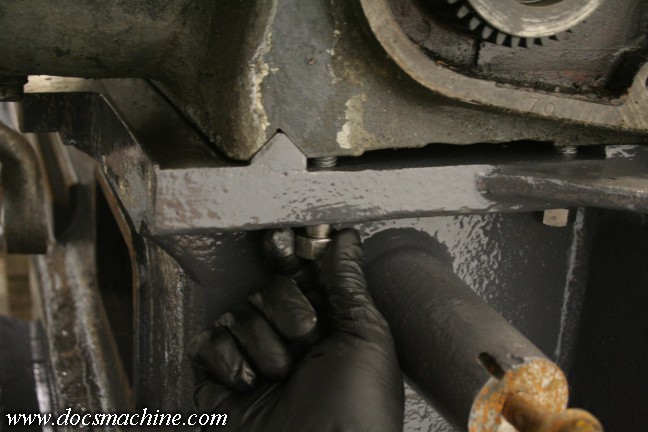
The giant bar and bolts clamps in front like so. I'll probably be filling in that gap later, both to keep
swarf out, and possibly coolant if I ever decide to use it on this machine. Note the notch ground in
the tailstock way on the right. At some point in this machines' storied history, someone apparently
needed to swing a part just a
little bit bigger than it originally could.
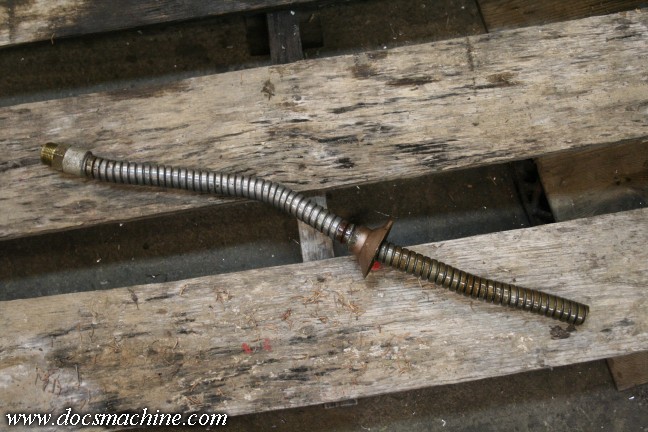
next up, the drain tube to connect the headstock to the lower oil reservoirs.
It's just what it looks like- a section of flexible metal tubing, much like they
used to make GI gas can fill spouts out of.
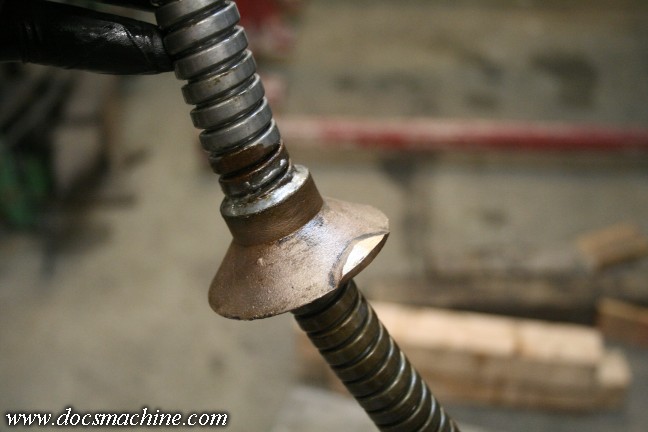
Soldered to the tubing is this cast bronze "hat" that covers the port in the oil reservoir cover,
in order to keep chips, swarf and grit out of the sumps.
Slipped into place and screwed into the headstock- seen here through
the quickchange gearbox opening at the front of the bed.
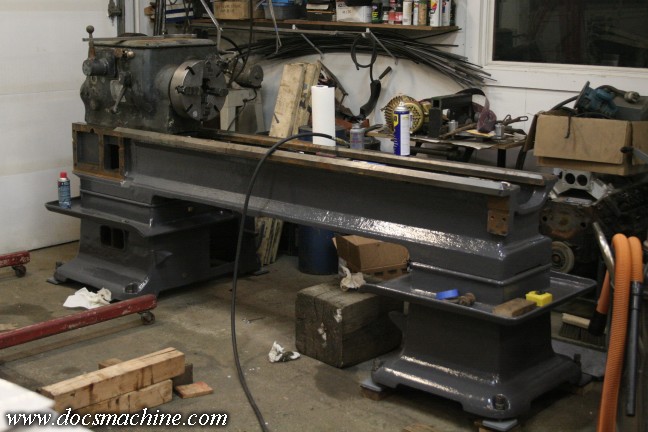
Slap the chuck back on just for giggles, and it's starting to look like a lathe again!
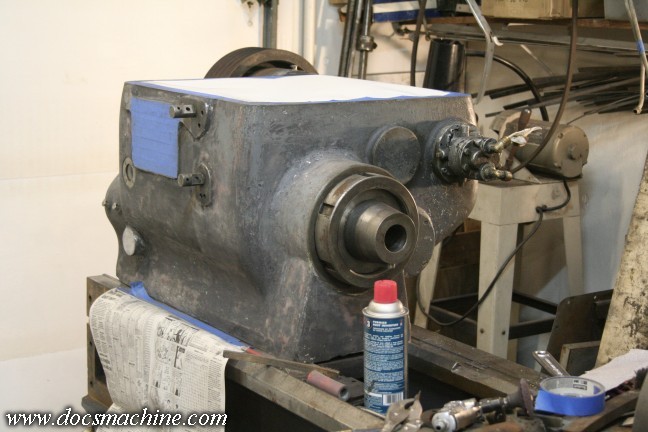
Next came stripping the headstock down for fresh paint. I sanded and degreased it as best I could,
shaved most of the loose stuff off with a scraper and razor blade, and sanded some more.
I had the top off in order to remove the 3-speed shifter assembly (again), so while I was doing
all this work, of course I had all the openings thoroughly taped up.
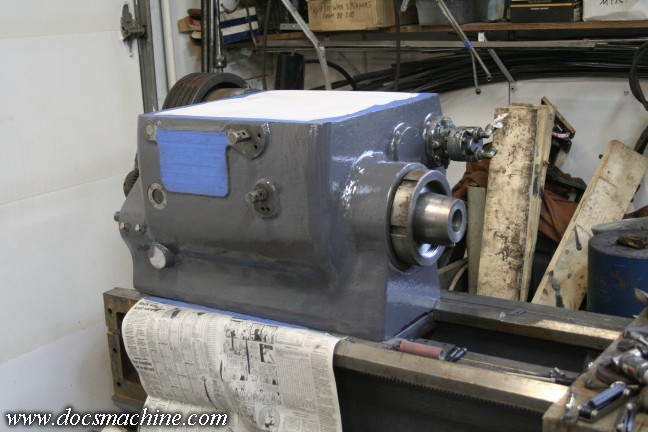
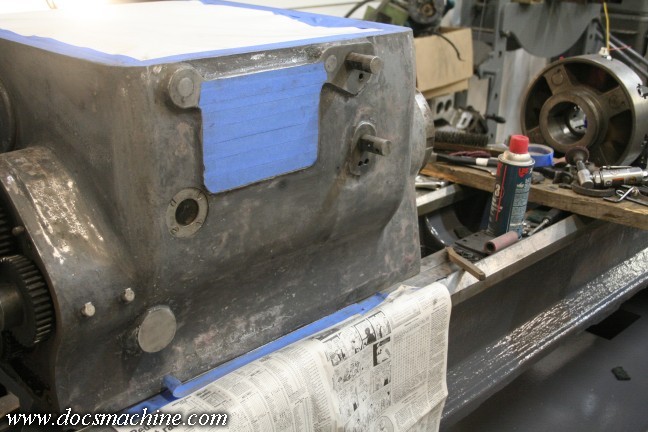
A couple coats of paint and she's looking a whole lot better already.
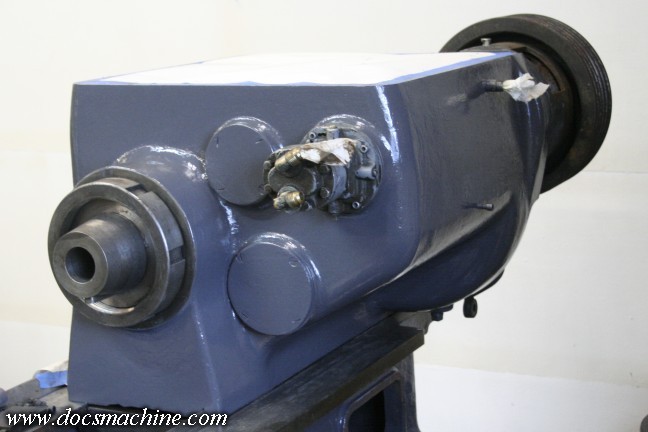
A good three coats left to thoroughly dry, and we're ready to move on to the next step!
All text, photos and graphics
Copyright 1998- 2017, Doc's Machine & Airsmith Services. All Rights
Reserved.
Information contained in
these pages is for reference and entertainment
purposes only. Our methods are not always the best,
quickest, safest, or even the correct ones. It's up to you to know how
to use your own machines and tools.
Keep your fingers away from the spinny blades o' death and you should
be all right.


