[
Return to Main Page ] [
Return to Projects Index
] [
Doc's Machine & TWB Store] [
Contact Us ]
[
The Whiteboard Webcomic
]
Converting a Logan 11" x 32" Lathe over to full CNC, Part 1:
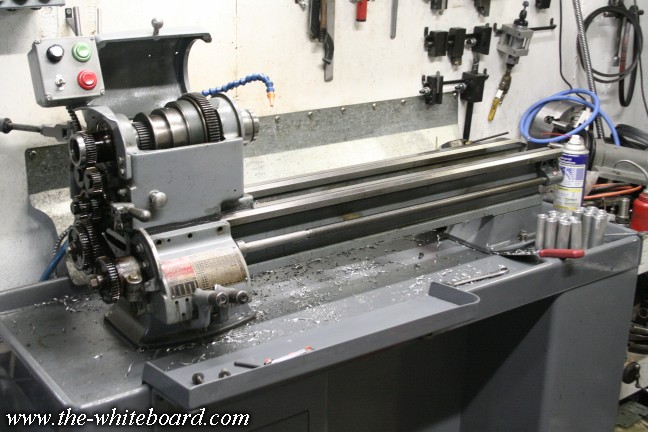
As handy as a manual turret lathe is, I decided it was time to add some true CNC to my shop.
Not wanting to finance a new $20K machine, I instead elected to convert my turret lathe over to
computer control, using fairly standard open-loop steppers. The plan is that this machine will be something
of a "stepping stone" over to a "real" CNC lathe, and as such, I wanted the conversion to be entirely reversible.
If/when I were to purchase a new dedicated machine, I could convert this back to a standard manual
engine lathe or to its current turret lathe configuration. I started by partially dismantling the Logan,
removing the carriage, turret, quick-change gearbox, and all the gearbox drive gearing.
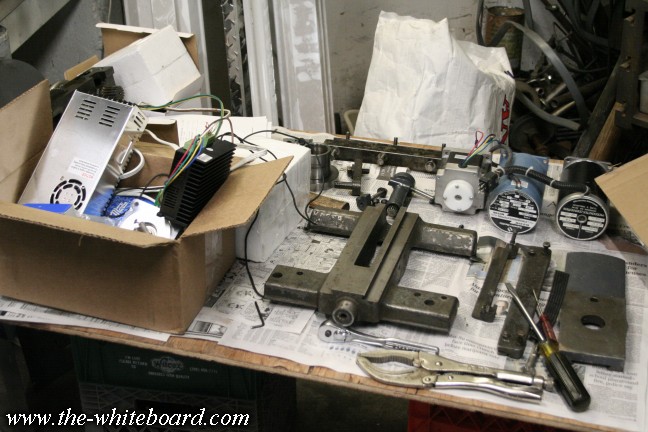
As I wanted to be able to return the machine back to an engine lathe, I didn't want to make any permanent
modifications to the structure of the machine. Luckily I managed to find a very good condition replacement saddle
on eBay, so that I could mod it as needed, but still have the unmodified original in good shape.
I also started collecting other pieces from eBay and other DIY-oriented CNC suppliers. I picked up a
12mm ballscrew for the cross slide, and a 20mm ballscrew for the carriage, as well as a 270-oz-in stepper
for the cross, and a 570 oz-in for the carriage. I have to admit I was guessing a bit on the sizes needed,
and I was also working on a conversion for a Grizzly mini-mill at the same time, so there was some
overlap in the parts we picked up.
I also decided to go with some 3:1 belt reductions on both axes.
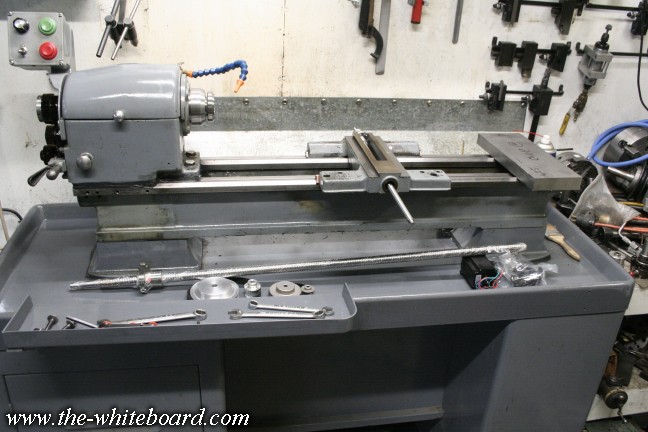
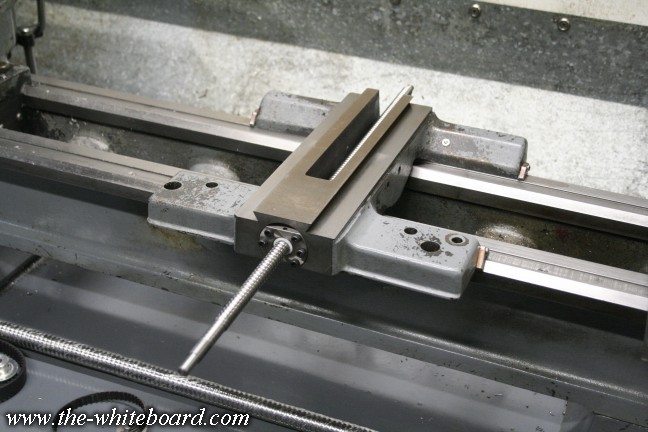
I started out fitting the ballscrew to the new saddle. The center slot of the dovetail was too small to easily
accomodate the ballscrew nut, and the nut itself was hardened and so difficult to machine,
so I elected instead to mount the nut directly to the saddle.
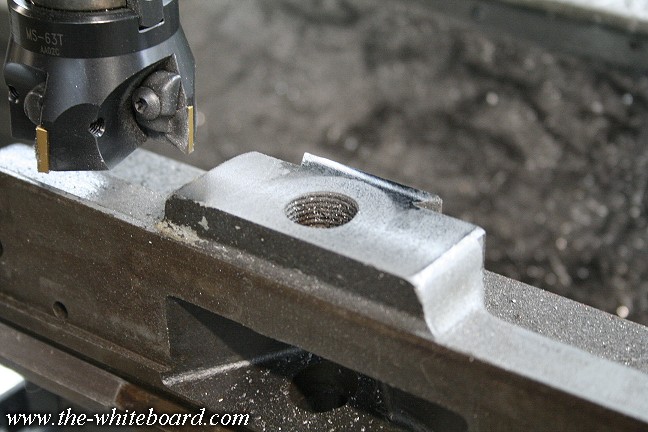
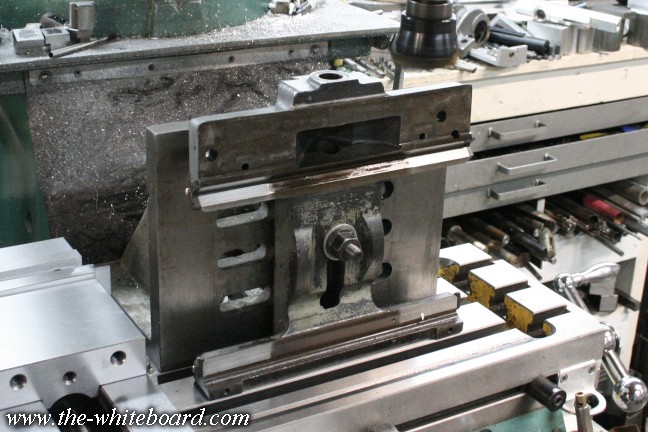
To do so, I milled the handwheel nose of the saddle casting flat and square to the ways.
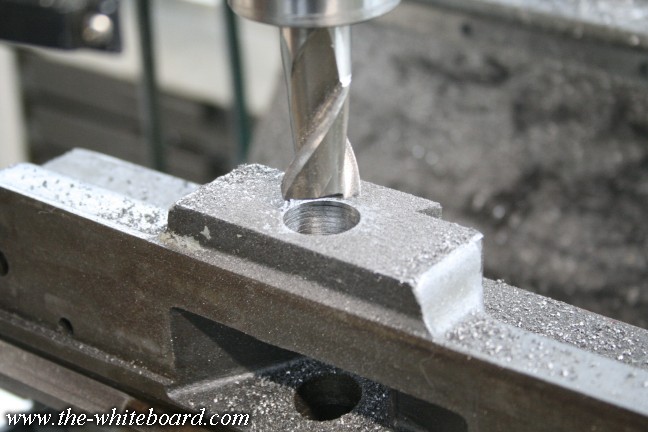
Then I bored out the original threaded channel, simply for rough clearance for the ballscrew nut.
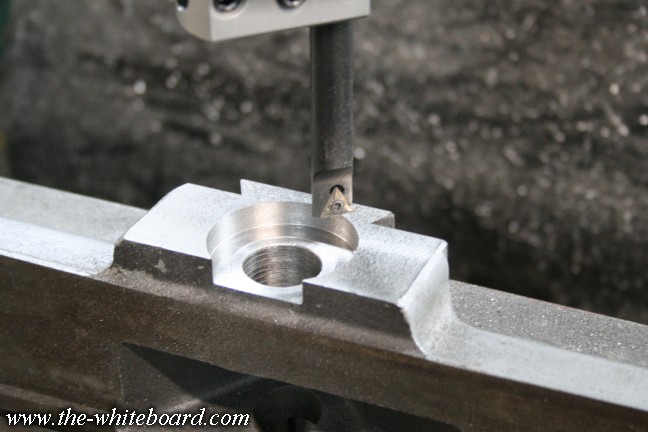
Finally, with careful use of a boring head, I was able to open up a step to accomodate the mounting flange of the nut.
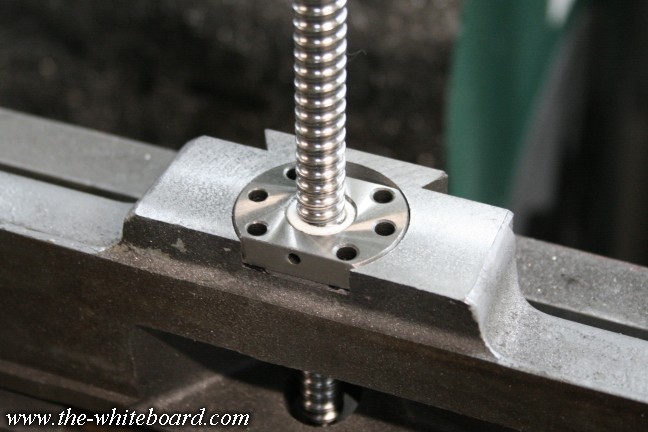
Which fits like so. Hopefully flat, square and true.
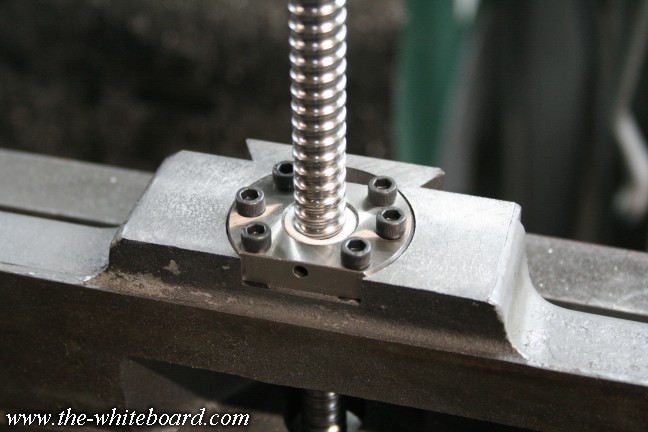
With a bit of careful measuring, I was able to drill and tap a pattern of 8-32 screws to bolt the ballnut into place.
And done!
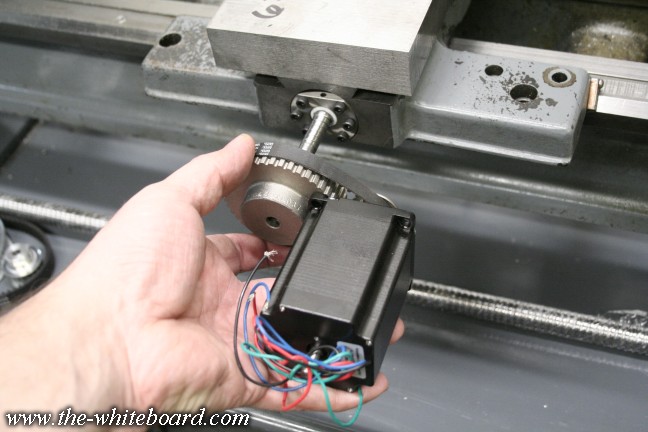
I'd hoped to have the stepper and drive mounted rigidly to the saddle, but with this ballnut mount,
it will now have to be mounted to the cross-slide, and thus, travel back and forth with it.
All text, photos and graphics
Copyright 1998- 2016, Doc's Machine & Airsmith Services. All Rights
Reserved.
Information contained in
these pages is for reference and entertainment
purposes only. Our methods are not always the best,
quickest, safest, or even the correct ones. It's up to you to know how
to use your own machines and tools.
Keep your fingers away from the spinny blades o' death and you should
be all right.


