[
Return to Main Page ] [
Return to Projects Index
] [
Doc's Machine & TWB Store] [
Contact Us ]
[
The Whiteboard Webcomic
]
Converting a Logan 11" x 32" Lathe over to full CNC, Part 14:
It's getting close to time to wire and test this monstrosity, but at the moment, we have no way to mount any tooling.
The original plan was to mill T-slots directly into the new cast iron slide, but I wasn't able to get a big enough
piece of Dura-Bar, without winding up with one that was
way too big. So I decided to add three 3/8"
steel bars across the top, to form the top half of each T-slot.
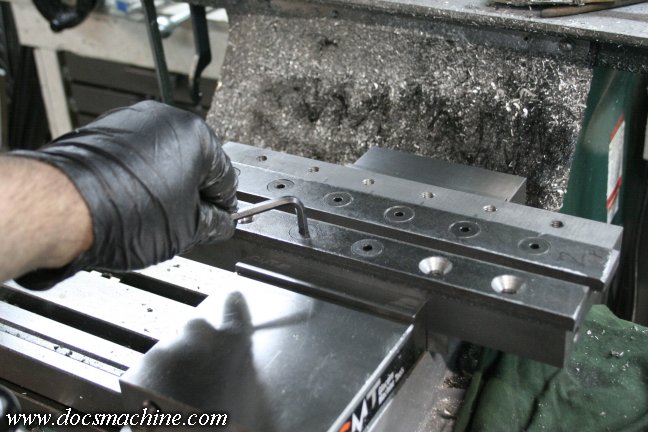
The bars had been flame cut with a track torch, and so were a little rough. I started out by giving each one
a quick run through the sufrace grinder, so what would become the bottom face, contacting the slide,
would be smooth and flat.
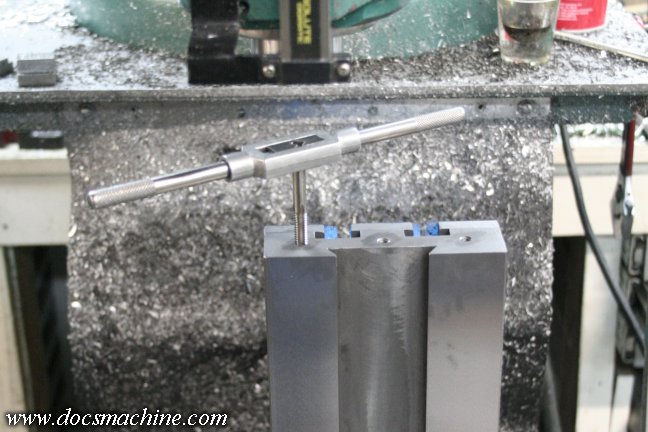
After a little measuring, I determined a placement for the bars, and a spacing for the bolts.
Each was drilled and countersunk for six 3/8" bolts.
The middle row, being centered over the dovetail, got 1/2" bolts, and the outer two rows got 3/4".
I drilled and tapped the holes as shallowly as possible, to maintain as much strength in the iron as I could.
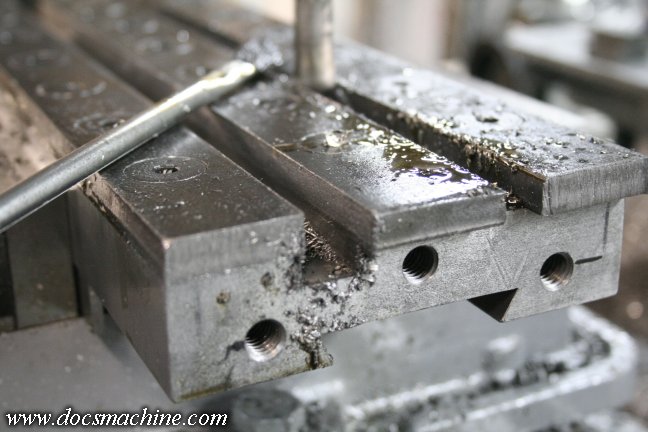
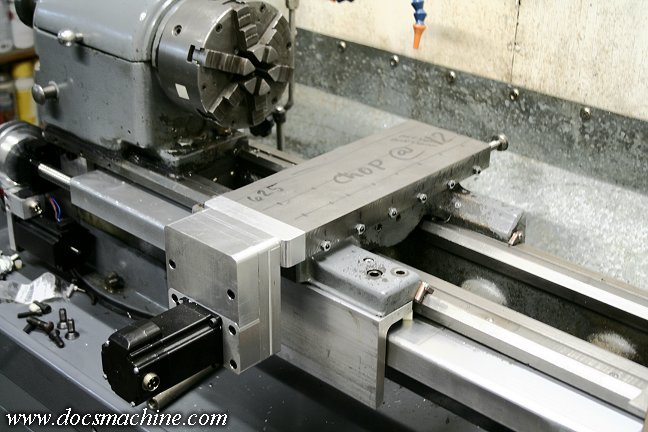
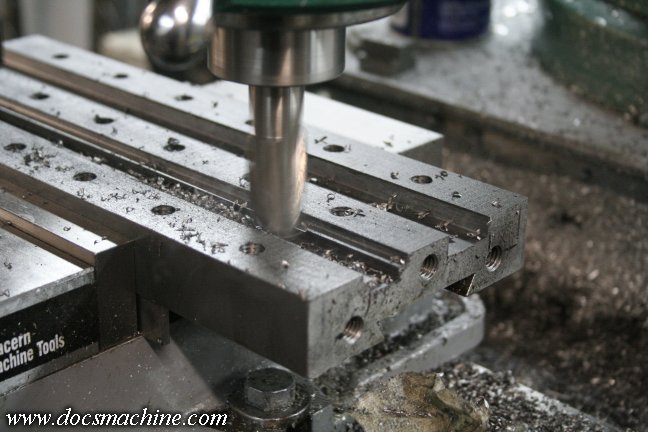
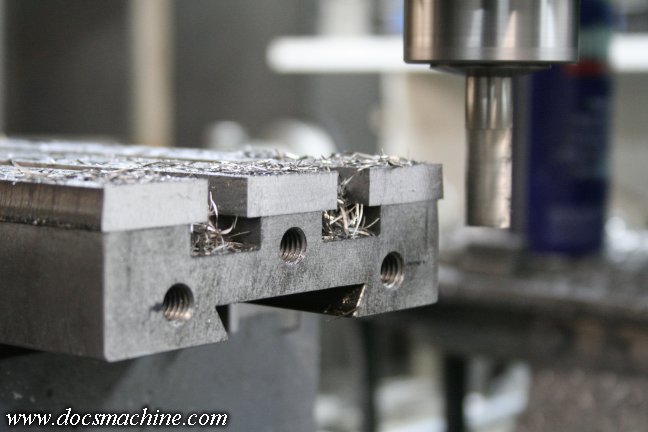
Once the bars were bolted down, I milled right down the center of the gap, squaring up the bars
themselves, and starting the slot in the lower part of the slide.
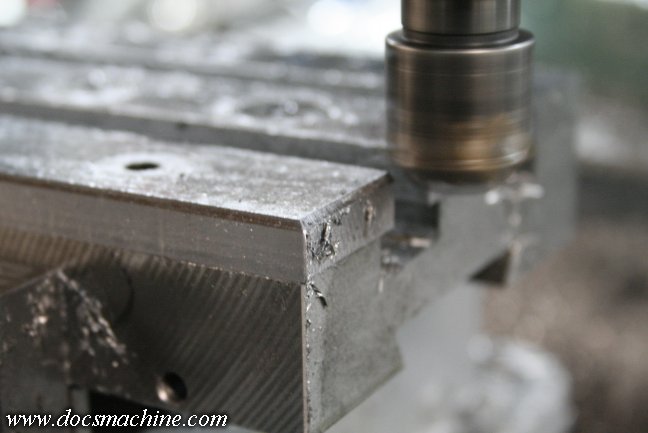
With the slots milled to depth and taken out to 1/2", I removed the bars and followed the same groove
with a 7/8" endmill. I had to jog to the side for a couple passes, as the 1/2" T-nuts I have measured 0.885"
I finished it off by lightly facing the tops of the slide..
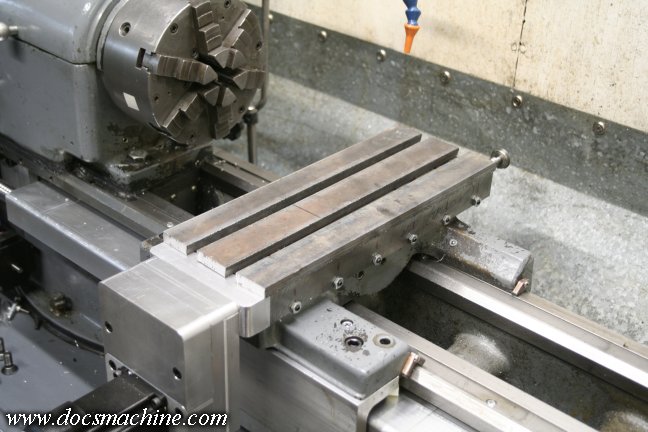
Everything got carefully cleaned before reinstalling the bars and torquing the bolts down,
and then I squared up all four sides to match the lower half.
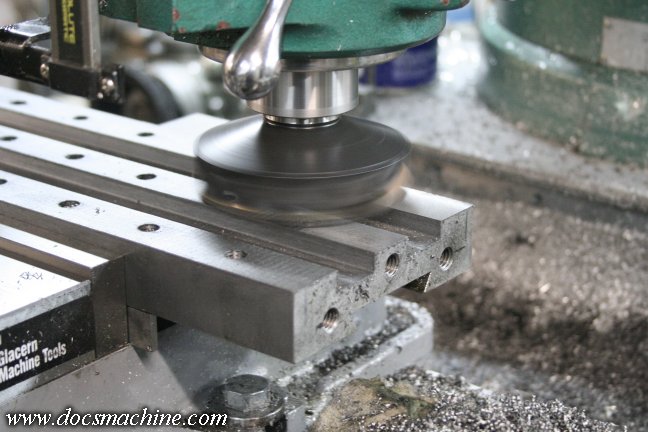
After which, I ran a 45-degree chamfering bit down all the edges.
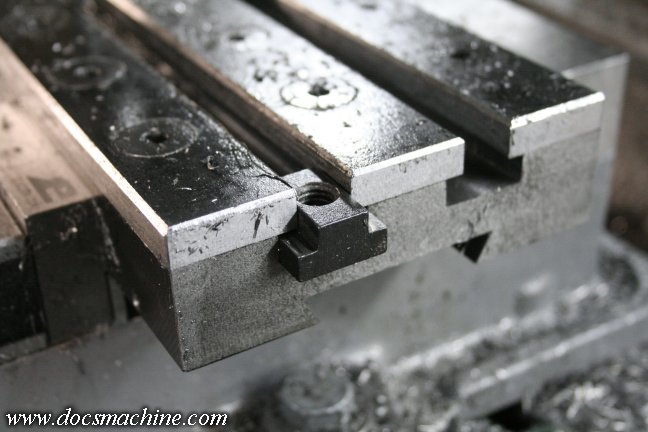
A standard 1/2" T-slot nut fits perfectly.
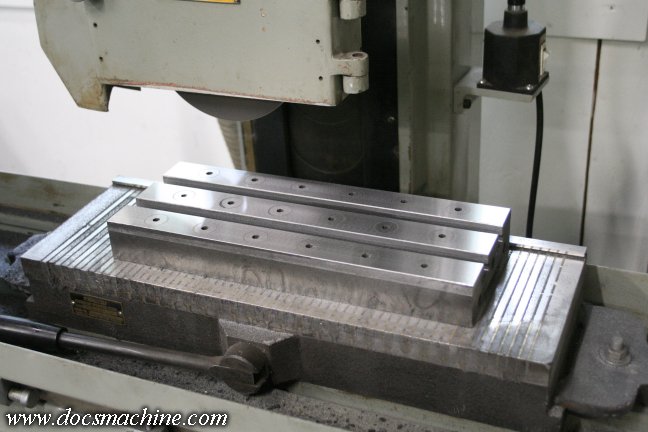
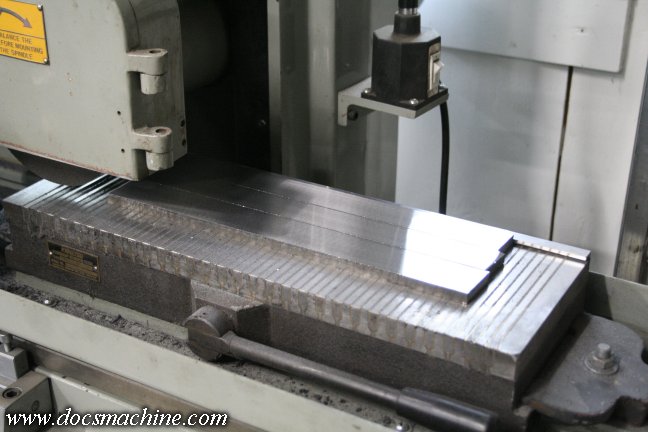
Finally, it was time to clean everything up. I ran the assembled slid through the surface grinder,
and after entirely too many passes, had everyting smooth and level.
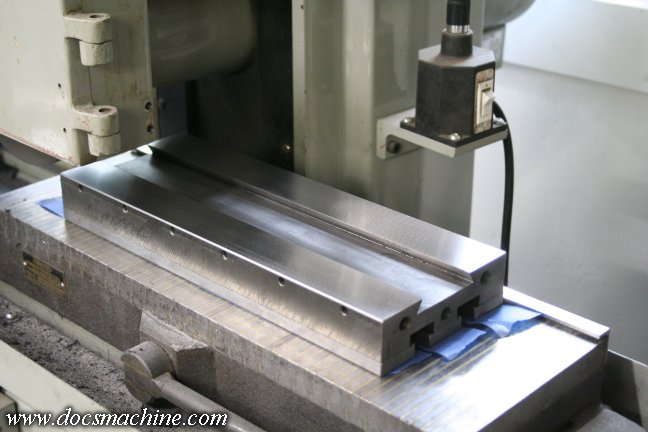
Once the top was done, I protected the new surfaces with blue painters' tape,
flipped it over and very lightly skimmed the way surfaces to smooth them up.
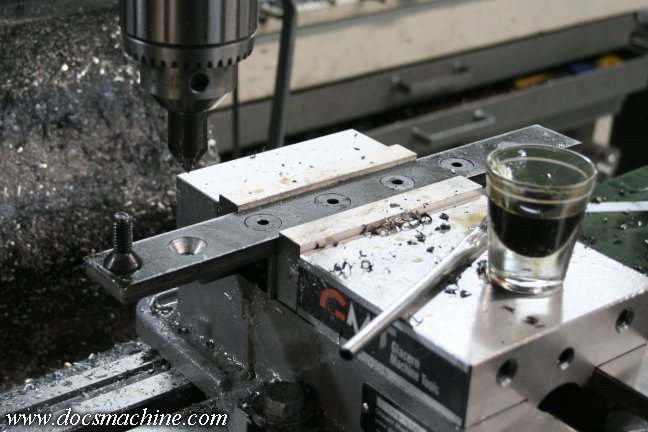
And as a last step, I drilled three holes on the back end, which will eventually
hold a support for the tail end of the ballscrew.
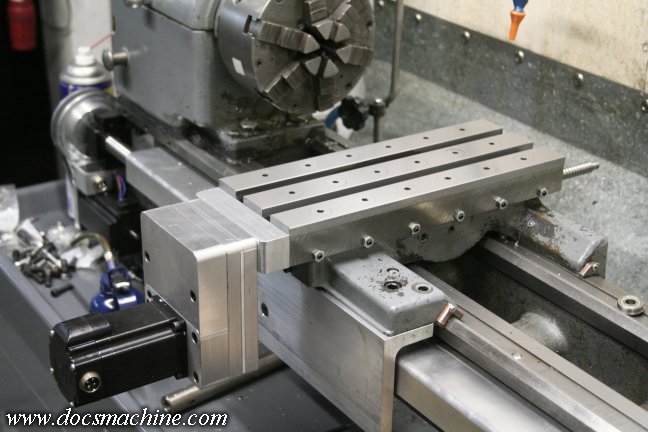
Reassembled and adjusted. To start with, I'll probably make a quick plate to attach the old
quickchange toolpost, but eventually, of course, I'll whip up a bunch of gang tool holders.
All text, photos and graphics
Copyright 1998- 2016, Doc's Machine & Airsmith Services. All Rights
Reserved.
Information contained in
these pages is for reference and entertainment
purposes only. Our methods are not always the best,
quickest, safest, or even the correct ones. It's up to you to know how
to use your own machines and tools.
Keep your fingers away from the spinny blades o' death and you should
be all right.


