[
Return to Main Page ] [
Return to Projects Index
] [
Doc's Machine & TWB Store] [
Contact Us ]
[
The Whiteboard Webcomic
]
Converting a Logan 11" x 32" Lathe over to full CNC, Part 24:
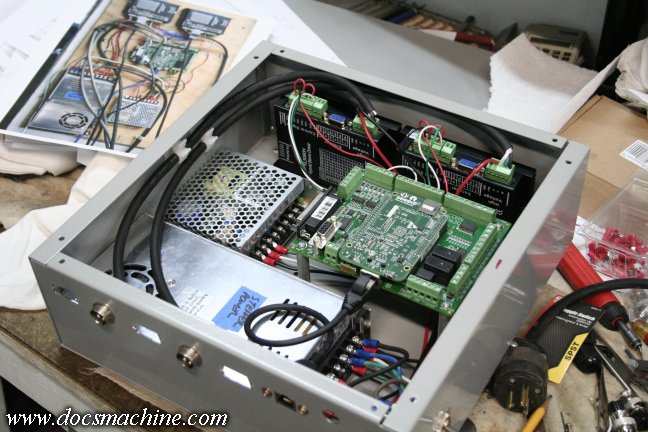
After the major pieces were in place, I whipped up the GX16 connections for the two steppers...
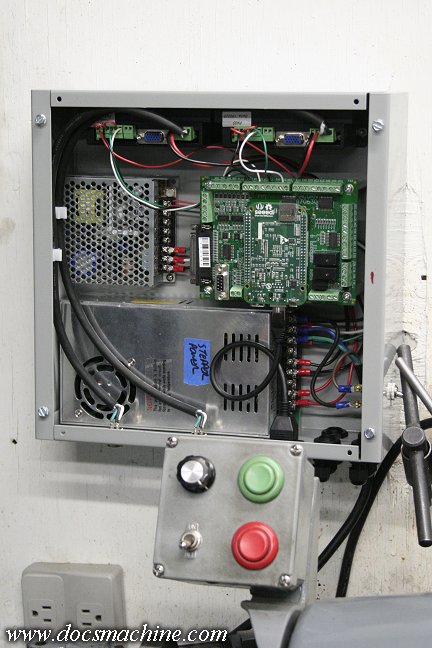
... And as I was starting to run cables to the machine itself, I mounted
it on the wall behind the lathe, where the old one was.
I found a DB9 extension that had a low-profile plug, in order to make
the spindle-encoder connection to the board and not interfere with
the box cover. (Note the green LEDs, during a quick power test.)
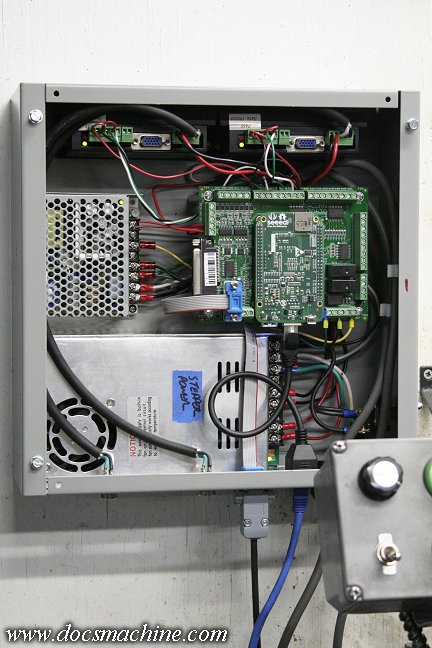
Then, with no small amount of cursing and gnashing of teeth, I finally
managed to get a couple of extensions from the drivers VGA-style
DB15 ports, to a bulkhead-mount DB9 plug at the bottom of the
enclosure. The encoders actually only used 6 connections,
so I'm not sure why they used a 15-pin in the first place.
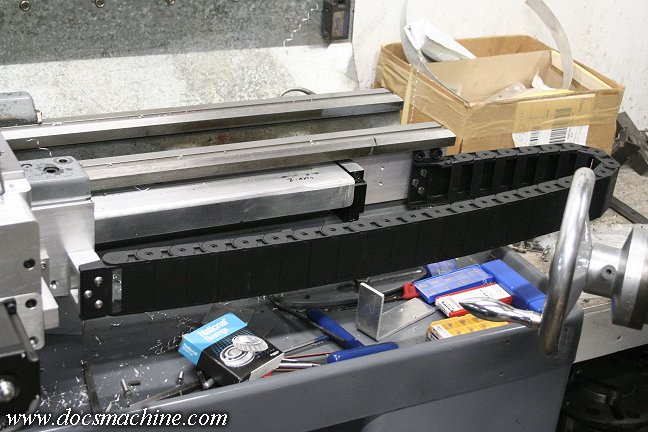
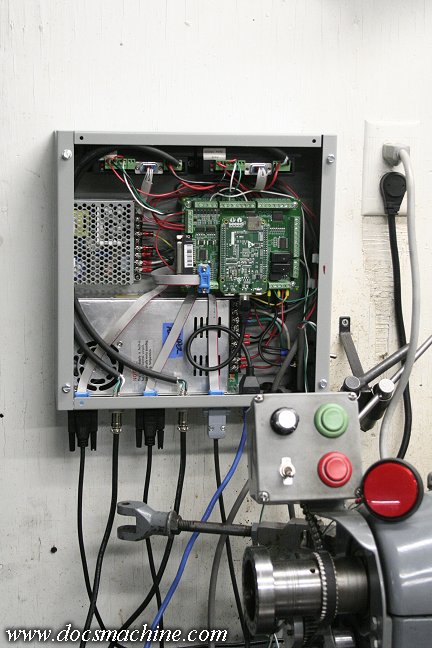
Finally, with the actual control box mostly sorted, it was time to try and neaten up the cables on the lathe
itself. I'd picked up a couple of cable chains off of eBay, and after some pondering, I mounted the big
one like so. Not real happy with the whole setup, but right now, I'm less worried about style points
and more worried about just getting the darn thing back up and functional. :)
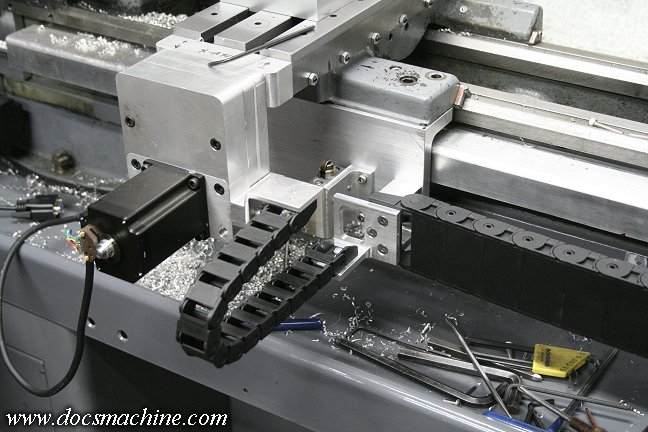
The X-axis chain got unceremoniously slapped on thusly, with a couple of even less elegant brackets.
But hey, it's functional, and that's the important part
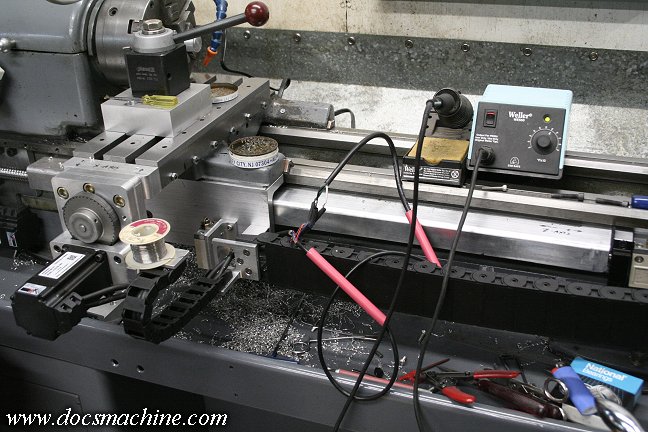
As I was running the cables, one rather important bit popped up, that I hadn't thought of: Neither the brackets
nor the smaller chain would allow any sort of plug or disconnect for the cables. They have to be soldered and
heat-shrunk in place, and if the motor ever needs to be disconnected, it'll have to be cut and unsoldered
to remove. Not the best setup, and I'll have to put some thought into some kind of future improvement,
possibly something like a junction box that both chains connect to, but for the time being,
it gets the machine back up and running, and organizes the cables.
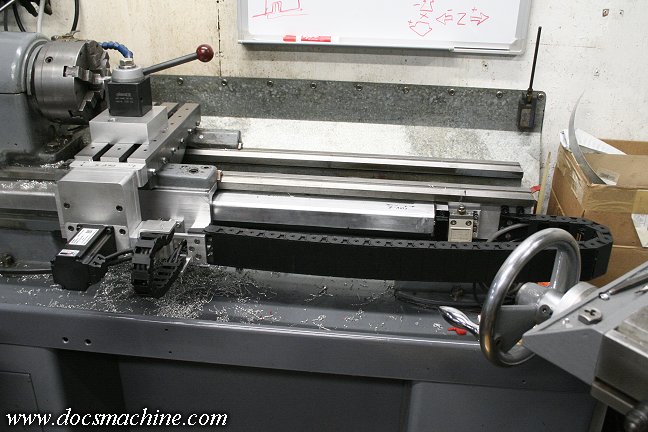
After a quick test to make sure everything was working, one more task gets marked off the checklist.
The chains are kept mostly away from the chips so hopefully they shouldn't jam, and they seem nice
and durable so they shouldn't break anytime soon.
So, with the controller, enclosure and cables mostly sorted, one of the
last little bits to take care of is the carriage oiling...
All text, photos and graphics
Copyright 1998- 2018, Doc's Machine & Airsmith Services. All Rights
Reserved.
Information contained in
these pages is for reference and entertainment
purposes only. Our methods are not always the best,
quickest, safest, or even the correct ones. It's up to you to know how
to use your own machines and tools.
Keep your fingers away from the spinny blades o' death and you should
be all right.


