[
Return to Main Page ] [
Return to Projects Index
] [
Doc's Machine & TWB Store] [
Contact Us ]
[
The Whiteboard Webcomic
]
Converting a Logan 11" x 32" Lathe over to full CNC, Part 25:
Now that the cables were more or less properly sorted, one of the last major bits to take care of is oiling.
Both the carriage and cross-slide ways need some method to apply lube, and preferably remotely and
possibly even automatically, while the machine is running a program.
So at this point I dismantled the entire carriage and removed it.
The two bed ways were fairly easy- I just pried out the ball oilers I'd installed a few years ago,
and tapped the holes to 1/16" NPT for some fittings.
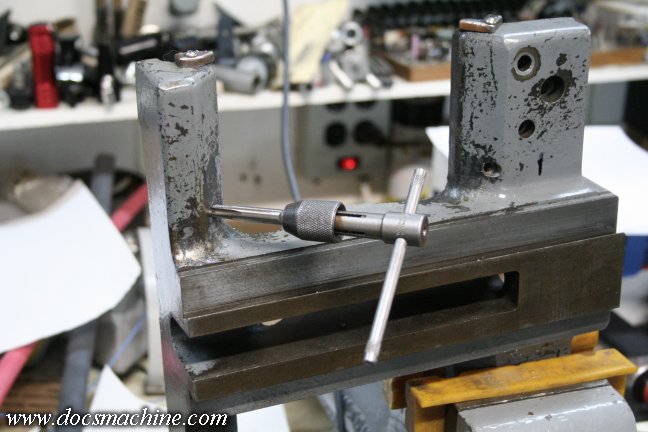
There weren't any oil passages to the cross-slide ways, however, and not wanting to have hoses connecting
to the moving table of the slide, I decided to add connections to the carriage, with passages leading
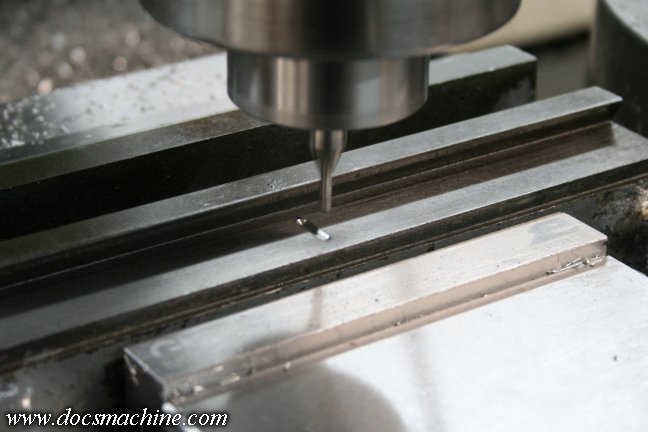
up to the cross-slide ways. To help distribute the oil, I milled a couple of shallow grooves...
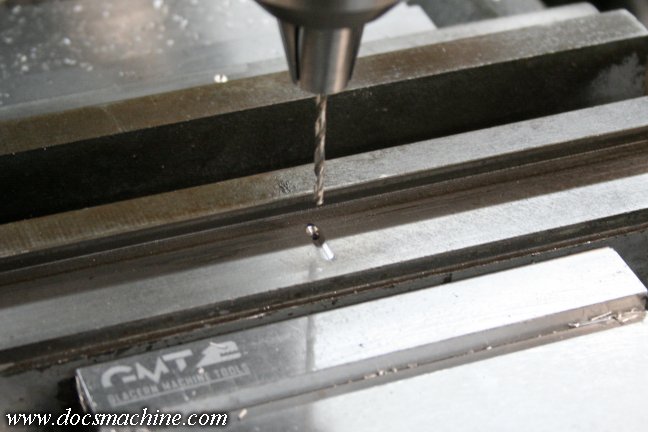
Then drilled some small passages into the casting.
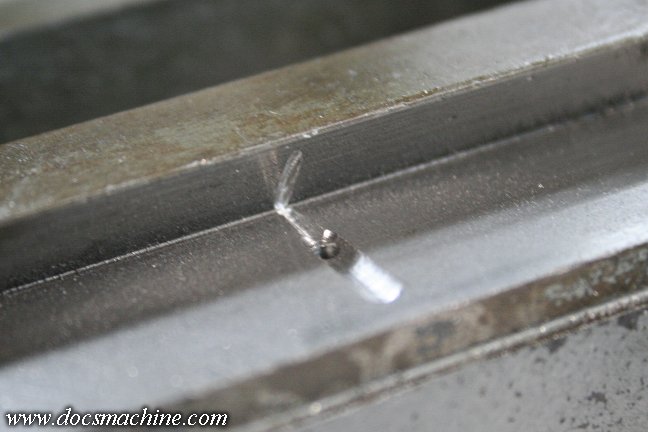
Using a small diamond burr point in a Dremel, I extended the groove to the inner "point" of the
dovetail, and then extended the groove up the angled face, so that way too, would get lube.
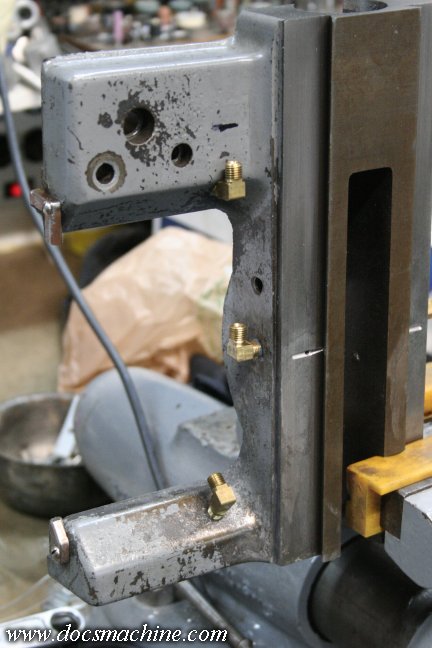
Both sides were then drilled and tapped to accept some more 1/16" NPT
fittings- in the right side of the carriage, I simply retapped the follow-rest
bolt hole to accept the tubing connection.
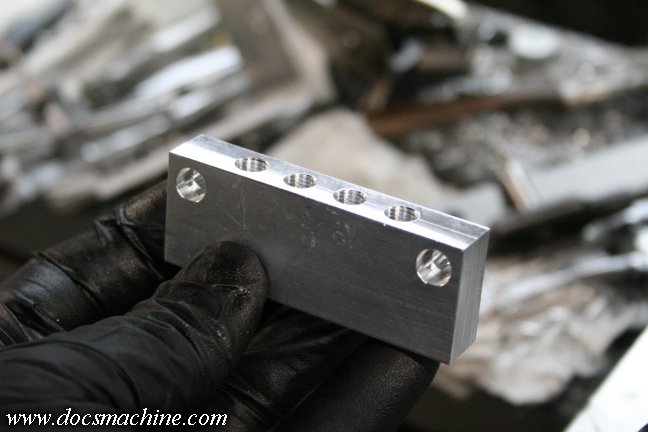
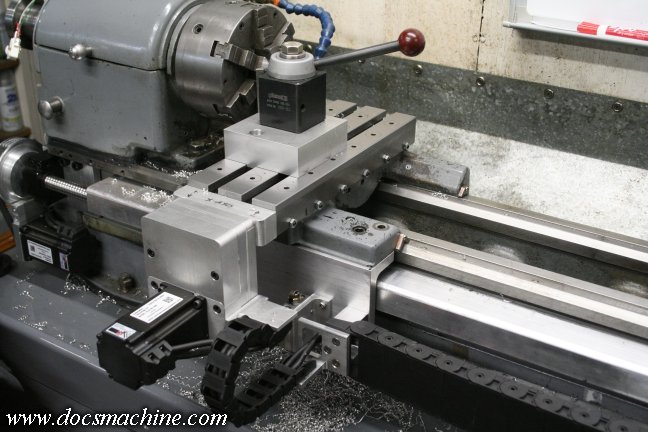
Then, a few minutes on the mill got me this 4-port distribution block.
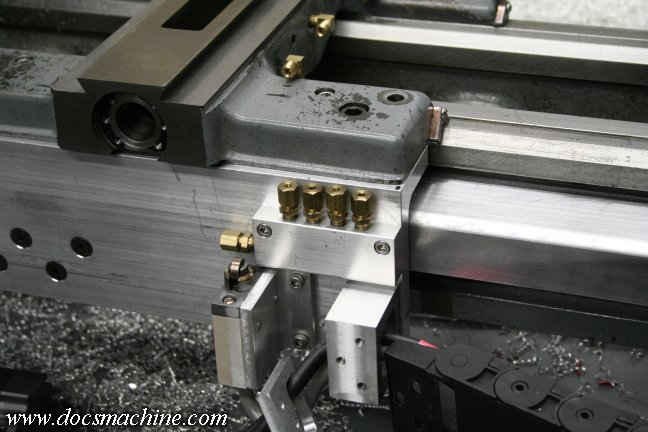
Which, with a couple defly-applied tapped holes, mounts like so to the carriage apron.
Some 1/8" plastic tubing and a bit of care gets everything connected up. I know the rear way hose looks
like it's rubbing on the bed way, but it's not, there's a bit of clearance. I am, however, keeping my eyes
open for a 45-degree fitting to put in its place. The front hose, too, will bear watching, as it's more
exposed to the chips and swarf. If necessary, I can replace that with more damage-resistant
copper tubing, or possibly even stainless, if it comes down to it.
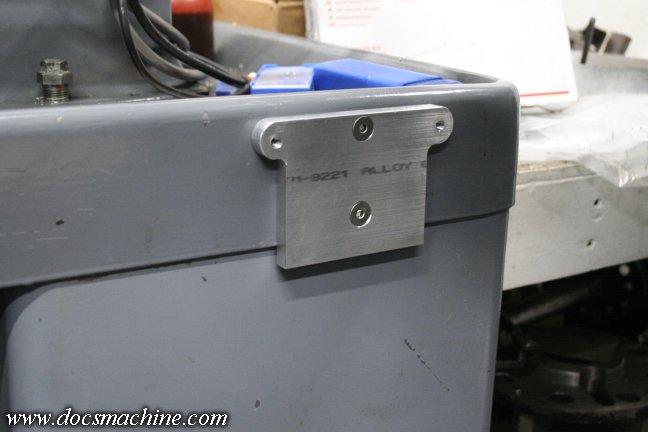
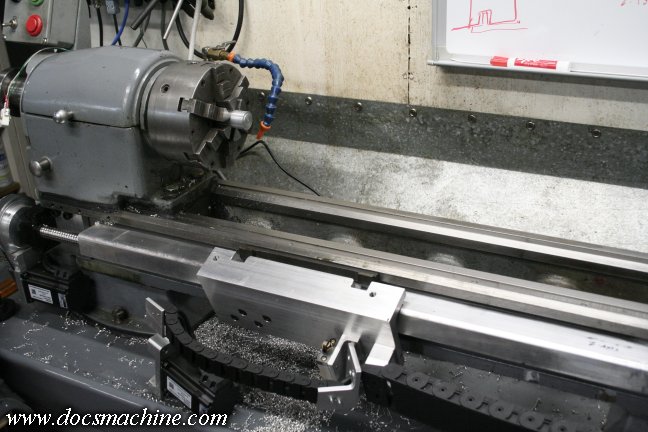
Finally, lacking a better place to hang it, and wanting to stick with the idea of not drilling any new
holes in the base machine if at all possible, I whipped up this mounting plate to attach to
two of the old splash guard holes, in order to hang the oiler itself.
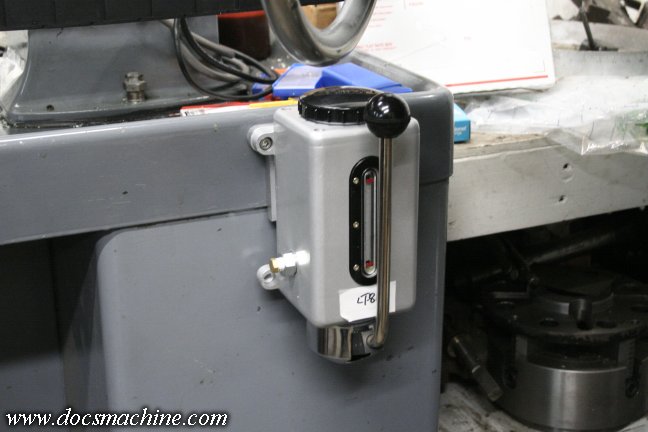
For the time being, I'll be using a manual oiler like this, and just giving the lever a pull whenever it seems
appropriate. I may switch to an automatic oiler at some point, but it's unlikely I'll ever let this machine
run unattended, and few parts I envision will take so long to run I'd want to make sure the
carriage stays oiled in the meantime, anyway.
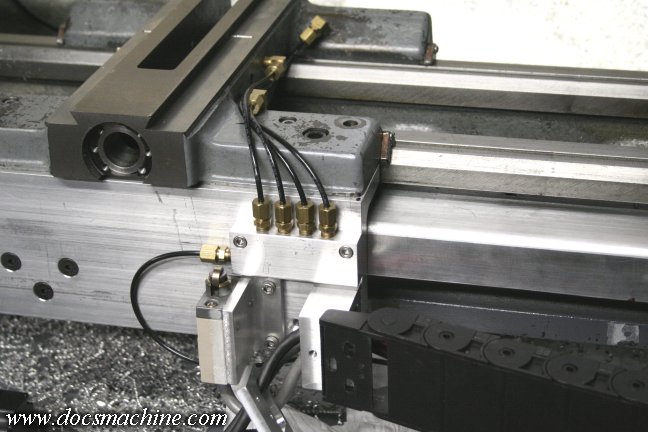
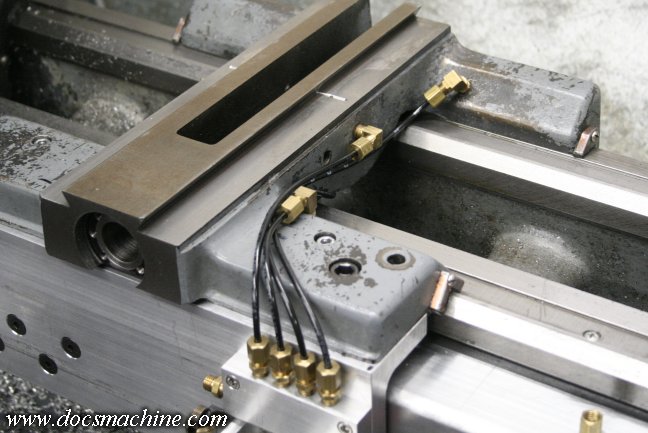
And finally, the feed line is run from the oiler, along the cable chain, and to the distribution block.
Now, does it work?
All text, photos and graphics
Copyright 1998- 2018, Doc's Machine & Airsmith Services. All Rights
Reserved.
Information contained in
these pages is for reference and entertainment
purposes only. Our methods are not always the best,
quickest, safest, or even the correct ones. It's up to you to know how
to use your own machines and tools.
Keep your fingers away from the spinny blades o' death and you should
be all right.


